Skillnad mellan versioner av "SIDO Råmåttsmätning/en"
Från DataPolarna
Erik (Diskussion | bidrag) (Skapade sidan med '# Select '''”MarCal 16EWRi”''' and '''”Transfer to -> Text File”''' <br />Select where to save the text file. <br />The name of the file becomes the name that the mete...') |
Erik (Diskussion | bidrag) (Skapade sidan med '# Connect to the meter by clicking the Connect icon in the same window (blue mark), not from the "home screen". Click OK and close the window. # When the caliper is connected...') |
||
| Rad 16: | Rad 16: | ||
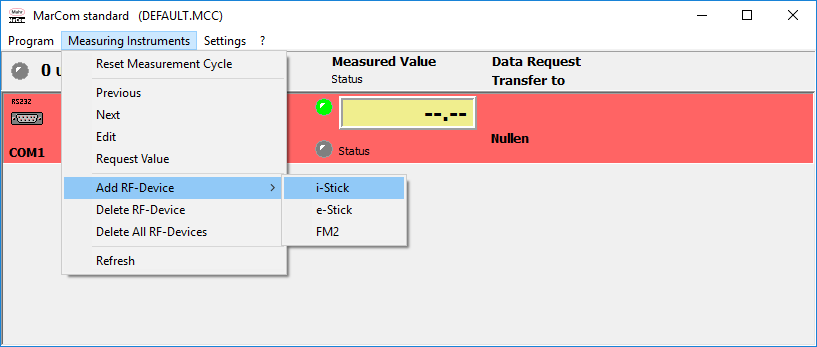
# Add measuring instrument - '''”i-Stick”'''.<br />[[Fil:Mahr3.png]] | # Add measuring instrument - '''”i-Stick”'''.<br />[[Fil:Mahr3.png]] | ||
# Select '''”MarCal 16EWRi”''' and '''”Transfer to -> Text File”''' <br />Select where to save the text file. <br />The name of the file becomes the name that the meter will have in SIDO. <br />'''IMPORTANT! The file extension must be .sido''' <br />[[Fil:Mahr4.png]] | # Select '''”MarCal 16EWRi”''' and '''”Transfer to -> Text File”''' <br />Select where to save the text file. <br />The name of the file becomes the name that the meter will have in SIDO. <br />'''IMPORTANT! The file extension must be .sido''' <br />[[Fil:Mahr4.png]] | ||
| − | # | + | # Connect to the meter by clicking the Connect icon in the same window (blue mark), not from the "home screen". Click OK and close the window. |
| − | # | + | # When the caliper is connected the '''”connect-icon”''' becomes green and you will see the readings on the display. |
= Installation av SIDO Board Measurement = | = Installation av SIDO Board Measurement = | ||
Versionen från 25 november 2016 kl. 12.28
Instructions for installing the caliper from Mahr and SIDO board measurement service.
Installation of MarCom
- Goto https://dam.mahr.com
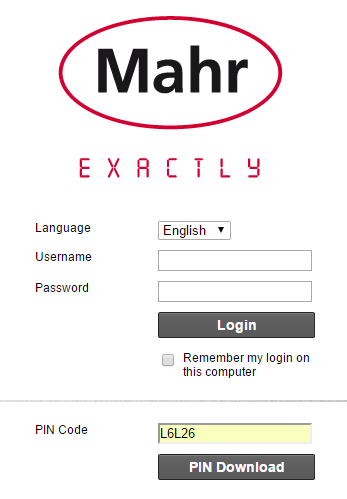

Installation of MarCom
- Goto https://dam.mahr.com
- PIN-Code: L6L26
- Click ”PIN-Download” followed by ”Download” on next page.
- Download will start. The installation file is rather big, almost 100 Mb.
- When the download is complete, go to the directory where the file was saved and unpack the file ”MarConnect--MarCom_Standard--MarCom_5.1-2--SW—Standard.zip”.
- Execute ”S e t u p-MarCom.exe”.
- Follow all instructions and install all necessary drivers.
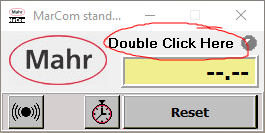
- The MarCom program starts automatically when the installation is complete. If it is not started, click on the MarCom icon on the desktop.
- Double click on the text ”Double Click Here”
- Connect the USB-stick to the computer.
- Add measuring instrument - ”i-Stick”.
- Select ”MarCal 16EWRi” and ”Transfer to -> Text File”
Select where to save the text file.
The name of the file becomes the name that the meter will have in SIDO.
IMPORTANT! The file extension must be .sido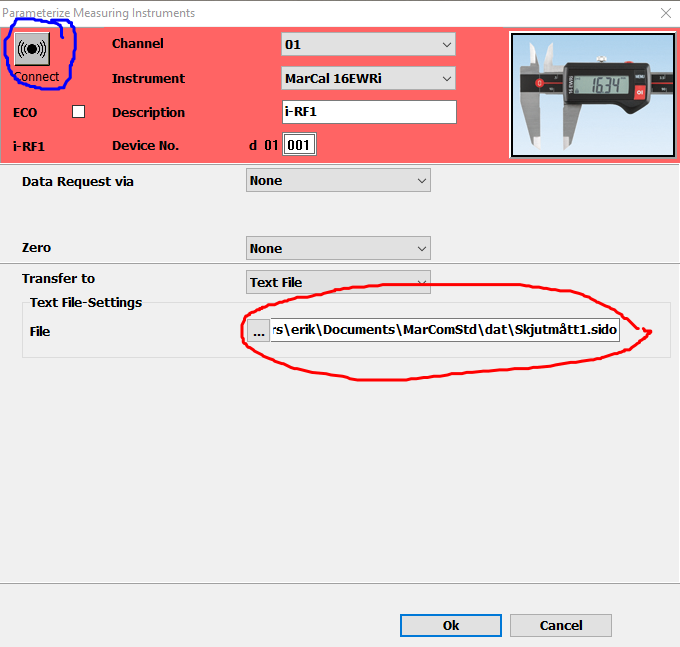
- Connect to the meter by clicking the Connect icon in the same window (blue mark), not from the "home screen". Click OK and close the window.
- When the caliper is connected the ”connect-icon” becomes green and you will see the readings on the display.


Installation av SIDO Board Measurement
- Kör filen ”SIDOBoardMeasurement.msi”
- Följ instruktionerna och installera programmet.
- I windows startmeny, leta reda på programmet ”SIDO Board Measurement”. Högerklicka på det och välj ”Kör som administratör”.
- Ange sökvägen till KATALOGEN där .sido filen lagras (punkt 12 under MarCom installationen).
- Ange den URL som du fått av oss i det andra fältet.
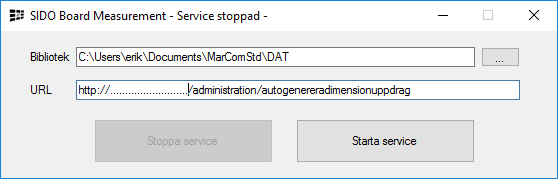
- Klicka på Starta service.
- Programmet installeras som en tjänst i Windows.
- Öppna ”Tjänster” i Windows och kontrollera att tjänsten körs.

- Gör en mätning med värdet 0.0
Om skjutmåttet inte redan är en registrerad mätare i SIDO kommer den att skapas och blir då synlig dels på administrationssidan i SIDO och valbar i råmåttsuppdrag på uppdragsskärmen. - Skjutmåttet går nu att använda vid råmåttsmätningar.
